DVJing using Live + VIZZable
Max Jitter MaxForLive AbletonLive VIZZable dj vj dvjYesterday I talked about VJing using VIZZable and Live, mainly concentrating on the new features in version 2.1, notably the ability to trigger video clips in session mode. Recall, previously video clips could be arranged only in arrangement view. However, with the new [clipPlayer(audio)] module, video clips can be placed on Live’s clip slots, and triggered like standard audio clips. Moreover, these video clips can be edited and warped, again as per normal audio clips. Following from Zeal’s video in which he demonstrates this, I wanted to mess about with this new feature, and see how viable it would be for live performance.
So firstly create a new Live set. Make sure you’re running Live 9, Max 6.1.3 and download VIZZable. Create an audio track for the video clip, and a MIDI track for the master video out. On the Audio track, add a music video of your choice to a clip slot and the [clipPlayer(audio)] module. On the MIDI track, add a [4mixr] and [VIEWR]. Set the [4mixr]’s input on channel one to [clipPlayer(audio)]. At this point, it is probably a good idea to name our objects, so click on the [clipPlayer(audio)] device and press CMD+R (CTRL+R on Windows) or right-click + rename to, say, ‘Player Track 1’. Click on the clip and it should play in the viewer.
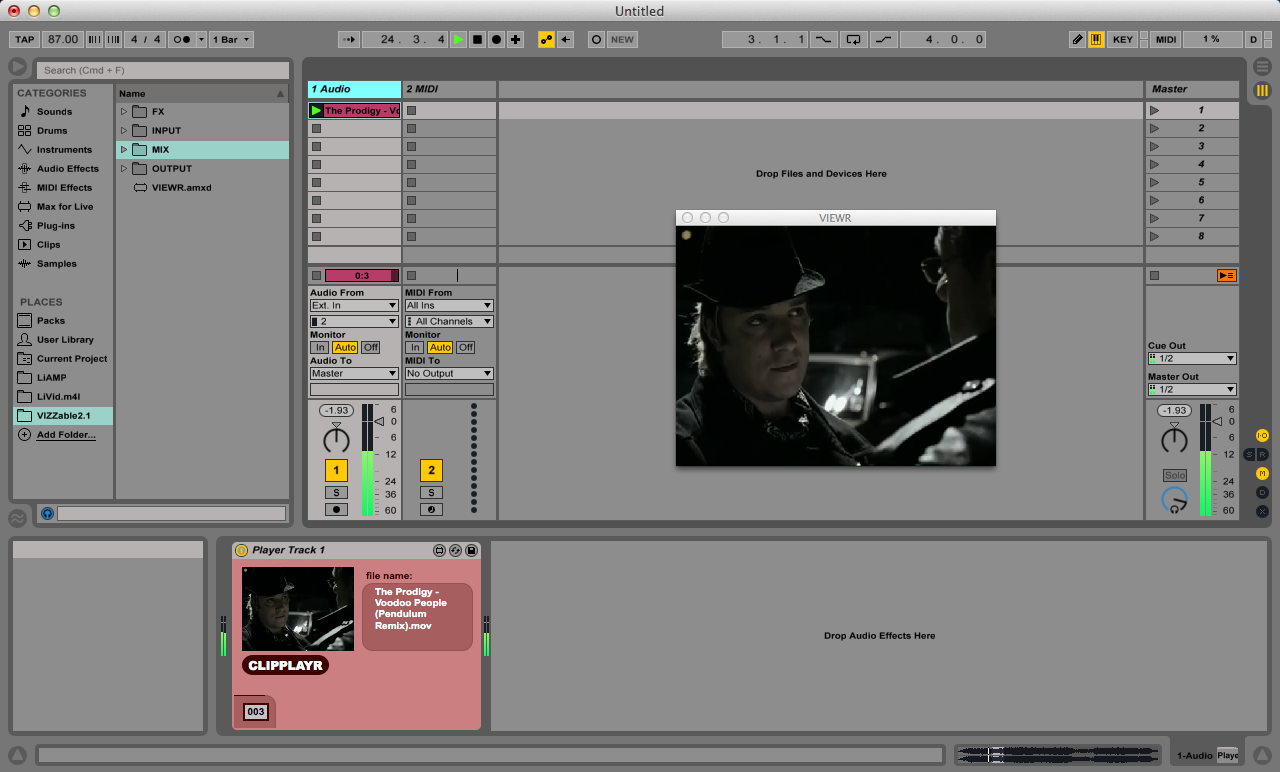

This clip can be edited, warped etc. as you would with a normal audio clip.

These clip can be broken up into separate clips, and then trigger using, for instance, the Novation Launchpad. This is kool and all, but not very interesting. How about some effects? Visually, most of VIZZable’s effects are MIDI effects. As the video is on an audio track, we can manipulate the audio as per a normal audio clip, so lets add some effects, like EQ, delay.
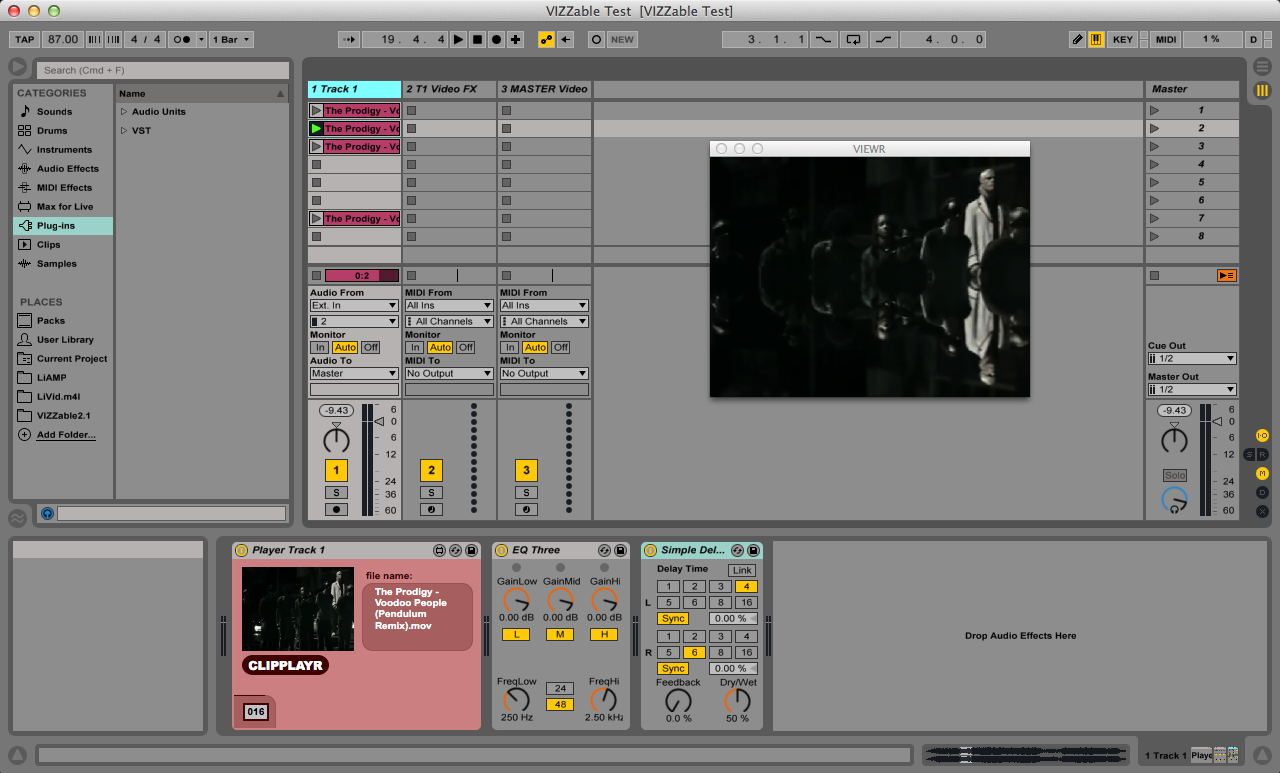
For the video effects, we need to create a new MIDI channel. Drop on some effects, for instance, a BRCOSA (Brightness, Contrast, Saturation), Blur, and Kaleidoscope. These works work as per a standard effects chain ([BRCOSR+], [BLURR], then [KALEIDR]), so set the [BRCOSR+] input as ‘‘Player 1’
and then set the [4mixr] input as [KALEIDR].

Repeat the process and add as many tracks as you like! As all the modules are built in Max for Live, they can be controlled with a MIDI controller, or via OSC etc.
[video]
In the above video, I edited three videos into separate clips, and then triggered them using the Lauchpad, and varied their volume using Kontrolr. I believe this acts as a proof of concept of a potentially successful approach for Live DVJing. BTW, the video ends abruptly as I needed to keep it under 100MB!